Saturday, August 21, 2010
Sunday, August 15, 2010
Magazine and Shoe Polish Collage
Items needed
Sturdy Board like illustration board or cardboard
Magazines
Rubber Cement and rubber cement eraser
White school glue, Elmer’s is fine. Must dry clear.
Can of Shoe polish
Paper towels
Tracing paper, Pencil, Marker and Eraser for mistakes
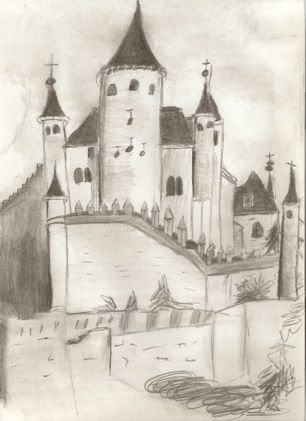
Sketch a line drawing on your board.

Tip
You do not want a detailed drawing. You will be filling the picture in with magazine pieces.
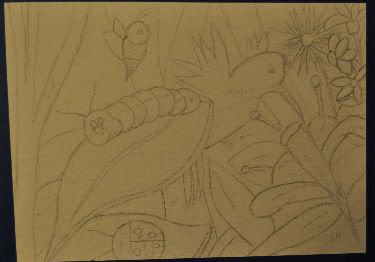
You also do not want large pieces because it will be hard to find that perfect magazine page to use. The leaf and frog were a bit too large and I had a hard time finding a large enough piece out of a magazine to use.
After you completed your drawing you will start piecing your collage with magazine clippings. You will work one section at a time building your artwork until it is complete. Use the tracing paper and copy one piece and make a transfer one onto a magazine page and cut it out. If you need instructions on using the tracing paper as a transfer follow the link. (Use the one that is not the mirrored image) (LINK NOT AVAILABLE YET)
Tips
You do not want to use high quality magazines with glossy pictures like National geographic or Architect Digest. This technique will not work on those magazines.
Look for color that will match your picture. The color will rub off and change so it will be a surprise on what your art piece will turn out. Choosing patterns is really important because the colors will blend and the pattern will be lost but read the next tip.
Even though patterns are lost try to stay away from recognizable magazine pieces. Since the frog was a big piece I had trouble finding a non-recognizable magazine piece that would fit. My first two choices were disregarded because one had a ladies head it in and the other page had a dog in it. I did not want these to distinct objects to be in my collage. I made an underwater scene and I used a page from a catalog. The page I used had a computer for sale. I turned it side ways and slapped it on my design. The computer was quite noticeable in the end piece. So noticeable the lady who framed it, framed it as a portrait. Bless my stepfather’s heart who thought my art work was worthy of being professionally framed.
After you cut out your piece from the magazine you will glue the magazine piece to your board. Rubber cement is the best choice. The reasoning is because it does not wrinkle the paper. It also can be a very forgiving glue. You have time to reposition the glue until you get it into that perfect spot. Also any glue that seeps out is easy to clean up. First let it dry. Then with a rubber cement eraser or your finger rub it off. Make sure you read the label for the glue very carefully. It is a very strong smelling glue and that should be taken into consideration where you use the glue. I read the label and it did not have a safety warning about skin contact before I rubbed any extra off my project, but if you are concerned then purchase a rubber cement eraser. They can be found in the art section of any craft store.
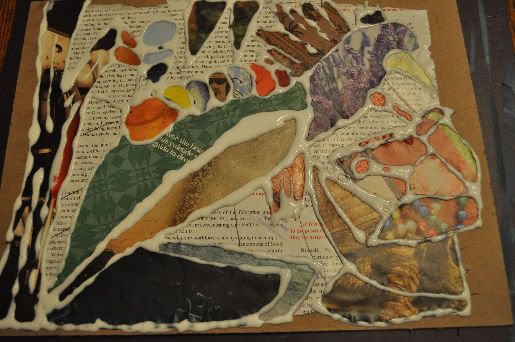
Once you finished filling in all your magazine pieces onto your project it is time to pull out the Elmer’s school glue. This glue is basically going to be used as a resist. Any portion of your picture you do not want the color to change you put a line of glue on it.
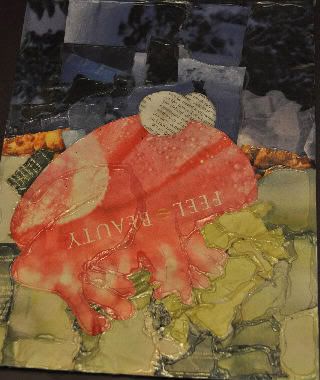
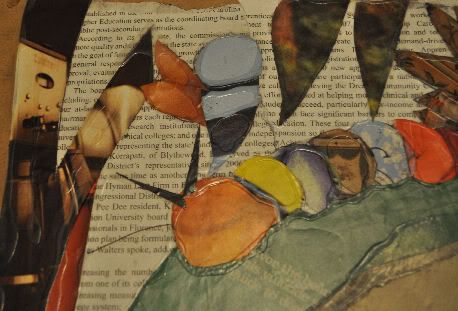
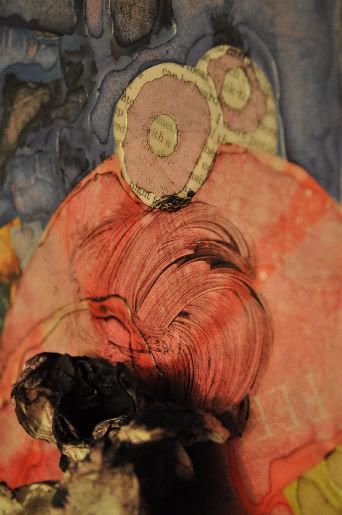
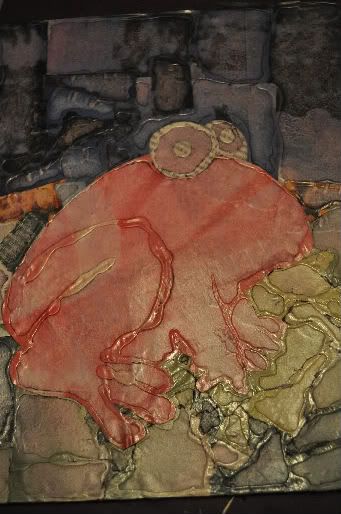
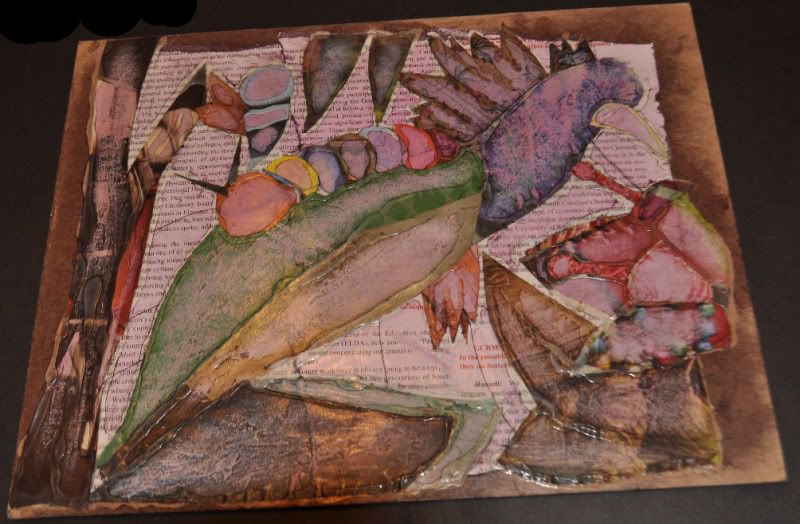
I like to outline the pieces of magazine I used. As you can see with the frog picture I tore pieces of blue and green for the background and rubber cemented them down. I outlined each piece. I also made lines inside the frog and the frogs eyeball. For the caterpillar/humming bird picture I outlined each piece. Notably I outlined the leave at the bottom corner for dimension. When I say line I mean line. You do not need to brush it on. You want to keep the line for texture and interest.
Let the glue dry completely. I mean completely. Really Completely, don’t skip on this part dry. It is boring watching glue dry so go make a linocut block. Just make sure the glue is dry. As in no longer white but clear.
Tip
Do not lay anything on top the wet glue picture. Done that not pretty.
Here comes the fun and magical part. Pull out the can of shoe polish and your paper towels. I like to use the cordovan colored shoe polish.
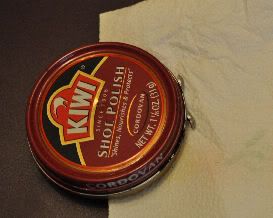
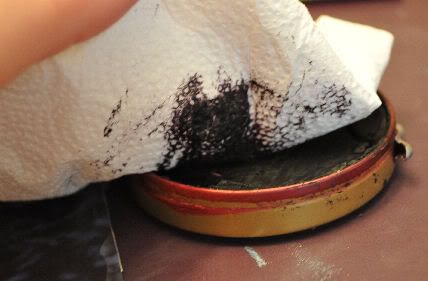
I have never used the brown. Scoop up some polish with your paper towel and start rubbing it onto your project. Use small circles and do one section at a time. As my grandma would say, put some elbow grease into it. Rub and rub and rub and rub and rub some more. Watch your magazine colors change before your very eyes. When you are finished use a clean paper towel and wipe off excessive shoe polish from the artwork. Put on an easel, stand back and admire your artwork.
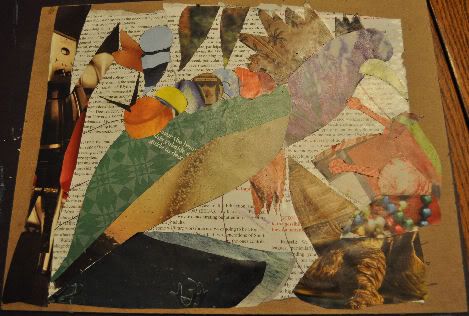
Oddly enough I worked for days on the humming bird collage and I wipped up the frog in an hour or so. I really like the frog over the humming bird.
Some notable notes on the humming bird picture
The hummingbird wings are made out of fancy painted furniture ads
The body is picture of lilacs
The leaves at the bottom right is a turtle’s body
The flower petals are miscellaneous Christmas pictures.
The tree to the left is a coffee make ad.
The bee’s wings are a lady’s face.
cards

Sturdy Board like illustration board or cardboard
Magazines
Rubber Cement and rubber cement eraser
White school glue, Elmer’s is fine. Must dry clear.
Can of Shoe polish
Paper towels
Tracing paper, Pencil, Marker and Eraser for mistakes
Sketch a line drawing on your board.


Tip
You do not want a detailed drawing. You will be filling the picture in with magazine pieces.
You also do not want large pieces because it will be hard to find that perfect magazine page to use. The leaf and frog were a bit too large and I had a hard time finding a large enough piece out of a magazine to use.

After you completed your drawing you will start piecing your collage with magazine clippings. You will work one section at a time building your artwork until it is complete. Use the tracing paper and copy one piece and make a transfer one onto a magazine page and cut it out. If you need instructions on using the tracing paper as a transfer follow the link. (Use the one that is not the mirrored image) (LINK NOT AVAILABLE YET)
Tips
You do not want to use high quality magazines with glossy pictures like National geographic or Architect Digest. This technique will not work on those magazines.
Look for color that will match your picture. The color will rub off and change so it will be a surprise on what your art piece will turn out. Choosing patterns is really important because the colors will blend and the pattern will be lost but read the next tip.
Even though patterns are lost try to stay away from recognizable magazine pieces. Since the frog was a big piece I had trouble finding a non-recognizable magazine piece that would fit. My first two choices were disregarded because one had a ladies head it in and the other page had a dog in it. I did not want these to distinct objects to be in my collage. I made an underwater scene and I used a page from a catalog. The page I used had a computer for sale. I turned it side ways and slapped it on my design. The computer was quite noticeable in the end piece. So noticeable the lady who framed it, framed it as a portrait. Bless my stepfather’s heart who thought my art work was worthy of being professionally framed.
After you cut out your piece from the magazine you will glue the magazine piece to your board. Rubber cement is the best choice. The reasoning is because it does not wrinkle the paper. It also can be a very forgiving glue. You have time to reposition the glue until you get it into that perfect spot. Also any glue that seeps out is easy to clean up. First let it dry. Then with a rubber cement eraser or your finger rub it off. Make sure you read the label for the glue very carefully. It is a very strong smelling glue and that should be taken into consideration where you use the glue. I read the label and it did not have a safety warning about skin contact before I rubbed any extra off my project, but if you are concerned then purchase a rubber cement eraser. They can be found in the art section of any craft store.

Once you finished filling in all your magazine pieces onto your project it is time to pull out the Elmer’s school glue. This glue is basically going to be used as a resist. Any portion of your picture you do not want the color to change you put a line of glue on it.
I like to outline the pieces of magazine I used. As you can see with the frog picture I tore pieces of blue and green for the background and rubber cemented them down. I outlined each piece. I also made lines inside the frog and the frogs eyeball. For the caterpillar/humming bird picture I outlined each piece. Notably I outlined the leave at the bottom corner for dimension. When I say line I mean line. You do not need to brush it on. You want to keep the line for texture and interest.

Let the glue dry completely. I mean completely. Really Completely, don’t skip on this part dry. It is boring watching glue dry so go make a linocut block. Just make sure the glue is dry. As in no longer white but clear.

Tip
Do not lay anything on top the wet glue picture. Done that not pretty.
Here comes the fun and magical part. Pull out the can of shoe polish and your paper towels. I like to use the cordovan colored shoe polish.


I have never used the brown. Scoop up some polish with your paper towel and start rubbing it onto your project. Use small circles and do one section at a time. As my grandma would say, put some elbow grease into it. Rub and rub and rub and rub and rub some more. Watch your magazine colors change before your very eyes. When you are finished use a clean paper towel and wipe off excessive shoe polish from the artwork. Put on an easel, stand back and admire your artwork.

Oddly enough I worked for days on the humming bird collage and I wipped up the frog in an hour or so. I really like the frog over the humming bird.

Some notable notes on the humming bird picture
The hummingbird wings are made out of fancy painted furniture ads
The body is picture of lilacs
The leaves at the bottom right is a turtle’s body
The flower petals are miscellaneous Christmas pictures.
The tree to the left is a coffee make ad.
The bee’s wings are a lady’s face.

cards


Subscribe to:
Posts (Atom)